Monday, 2 May 2011

The Odd Rod Project

In my workshop I have a box of glass rods, that when tidying up I have not been able to remember which glass is which and just chucked them into the "Odd Rod Box".


Now, anyone who works with glass will know the importance of matching the Coefficieny Of Expansion, but for people who don't - then in a nutshell, your glass has a number and the numbers have to match for the glass to stay together.

Now, there lies the problem.  Because I don't know what glass has what number I cannot use them together.  I can get away with frit (broken glass) and I can take a risk and try spots and lines, but the easiest and safest thing is to use them on their own.

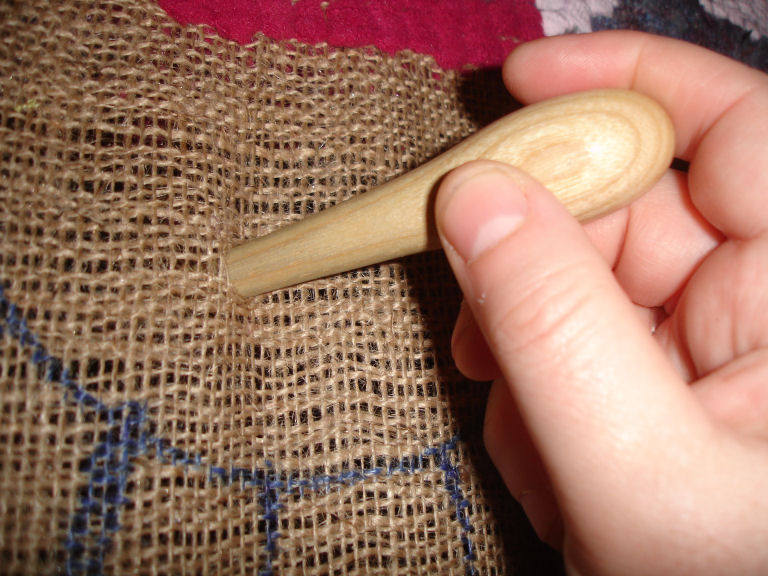
So, to use up the box I have a cunning plan.  Each day I am to make 5 sets of beads from a lucky dip of glass rods that I pick out.  I close my eyes (only slightly as I don't want to spike myself on the glass) and pick 5 rods.

This was Sundays set of rods.


A caramel, clear, transparent teal, mid blue and a pearl grey.

I make as many beads as I can get out of each rod, sometimes there are just 3 to a set, and other times 9 or 10.

It can take a few hours to make a few sets, then they are in the kiln all night to cool.  In the morning the cleaning starts, of course the more beads I make the more I have to clean :(


First of all the caramel rod, I used "Glazed Ginger" frit and made some gravity marbles.


Next I used the clear and simply made 9 simple beads with no frit and no other decoration.  Once cleaned I put 5 of them in etching fluid and made them all frosty.


Then came the transparent teal, I took a risk with this one as I thought I knew what glass it might be, and I encased a black core.  I love the effect these make.

The mid blue rod was a gorgeous colour, but not very long, so I didn't get many beads out of that one.  Again I did a gravity frit bead.

Lastly came the pearl grey rod, which again, was a little rod, so I made little cute beads which I dipped into frit and melted in.


Here are tomorrows colours  :)


Friday, 11 March 2011

How to "Prod" a rug.

After showing photos of the progress of my Proddy Rag Rug, I was asked how they were made and could I show a step-by-step photo - so here they are.

First of all you need some hessian/sacking  (try your local Indian restaurant for Basmati sacks, or places with wild birds for peanut sacks - failing that, eBay)  and you need a prodder.  This is simply a stick with a point. 
I have my hessian on a frame for tension, but it's not necessary.

Next you need some rags, you may want to keep your rug in all the same material - such as t-shirt, or fleece, or wool.  As this is my first rug I wanted to try lots of different materials to see how each one worked and how well it prodded into the sacking.

You need to cut your material into strips, my strips are around 2cm x 5cm, but you can have them longer or shorter as you wish.

Hem your hessian, then draw a design onto it and sew it onto your frame if you are using one.

Right, to make the rug.  Shove your prodder through the hessian and wiggle it about to make a decent sized hole. 


Don't be afraid, at first I was afraid of making the hole too large, but when you add the next strip you end up pushing the hole back in place.


Take a strip of material and push one end through the hole with your prodder.  Grab it underneath with your other hand and pull it just under half the way through.


Make another hole about 1cm away.


Push the other end of the material through the new hole and again grab it from underneath. You should be able to feel and adjust them until they are equal length.  Add your next strip into the same hole as the previous one ended, and continue across the hessian.


This is your working view as you work on the back.


This is the view from the front.


They all bunch together nicely the more you get in.


This is very addictive, but comes with warnings:
  • Rug dust makes you cough.
  • Keep your rags seperate from your washing pile (talking from experience here)
  • Do not do housework, cook, taxi, work, answer phone or anything else while prodding :)

Sunday, 27 February 2011

February Colour Challenge 2011

Over on the Bead Buddies Forum we have a monthly colour challenge.
This month it was colours beginning with the letter 'B'

Beetroot Red / Bronze / Beige

I started this months in good time, as I usually ended up just chucking something together in the last two days.  However, it did take me best part of the month and I finished it with just two days to go.


Taken from the Diana Fitzgerald Shaped Beadwork book, I made a whole load of 3D Hexagons in various colourways, then sewed them all together in a very random order.


For the clasp I made a toggle clasp from the same tiny Delica beads, sizing it so it would fit into one of the Hexagons.


The whole piece (over the course of a month) took around 13 hours to make.


Tuesday, 8 February 2011

Glass Wall Hearts

A little idea popped into my head, you know one of those ideas that make you spend half the night wondering if it will work?  So of course the next day I just had to try it out.

I chose a heart shape as Valentine's Day is approaching.

I drew a template on some fibre paper, filled it in with chopped up glass - adding different shades and a touch of Dichroic or stringers for interest, then I shut the lid on the kiln and crossed my fingers.

So....they kinda worked, I think they need tweaking a bit, and I need to find another way of hanging them as I really do not like the wire on them, but it's all a learning curve.

The big ones above are around 9-10" while the smaller one below is just around 4-5". 

Tuesday, 1 February 2011

January Colour Challenge 2011

Over on the Bead Buddies Forum we have a monthly colour challenge.

This month it was colours beginning with the letter 'A'

Aubergine / Aquamarine / Alabaster

So, late last night, I was rushing about trying to get something done - it is surprising how quick that month goes.

I had planned to do something different, but couldn't find the beads I needed, so I made some little flowers instead and then added them to some bookmark blanks.


The middle bead is an Aquamarine coloured glass pearl, and the petals are made from a peach Alabaster coloured seed bead, along with an Aubergine purple seed bead and some Aquamarine silver-lined seed beads.


Monday, 31 January 2011

Monday's Treasure Hunt - Apronqueen

I was trailing through Etsy, as you do, looking for a birthday gift for a friend, when I came across this fab shop called "Apronqueen".

This lady makes the most gorgeous aprons, in fabulous fabrics - vintage style.

I love this one !


She also does funky kitchen gloves too  :)

Check her Etsy shop here....


Wednesday, 26 January 2011

"Sprite Flowers" and more.

On New Years Eve I jetted off on a little holiday to Marrakech in Morrocco.

Now, being a beader, I couldn't go without a stash of beads - just in case there was any spare time.

I took 5 bags of seed beads in Pink, Yellow, Pale Blue, Dark Iris Blue and an AB Dark Grey, a pack of needles and a reel of KO beading thread. Oh, and two strings of glass pearls.


I bought some Airline safe nail cutters at Boots the Chemist in the Airport (they cut thread beautifully and you can take them on the Plane!)

I took out the box at the Airport - it is such a boring place once you have done the Perfume sniffing and Book browsing - and had no idea what-so-ever on what to make !

So I made a flower..... and another.......and another.......and so it went on.  Once I had a few flowers I made a bracelet base for them.  Then a necklace chain......... and on it went  :)


For some really odd reason, every time I looked at them I thought "Sprite"!  so Sprite is now the name of the collection.

This first necklace is a dangle of three flowers on a herringbone rope with a peyote toggle for a clasp.


Next we have a twisted spiral staircase rope, again with a toggle clasp and a pendant slider with three flowers. 


This necklace has no flowers, but is made from the same beads, under the twisted grey part are sections of colours, which are hard to make out in the photo.  The twists are interspersed with cream glass pearl beads.


This simple pink flower is attatched to a simple herringbone rope.


This is a Cecile's Wheel pattern, which I have done before.  It's a lovely design and looks great in these colours.  My Mum took a fancy to this so it is now in her jewellery box.


Onto the bracelets, this is a shaggy twisted bracelet, it fastens with two bead dangles which push through a loop.

This one is quite similar, but a slightly different variation of bead numbers.


And this one is a peyote band richly adorned in lots of different flowers.


A ring !

And finally a few pairs of earrings.


I think I am ready to move onto something else now :)

Higham Hall - January 2011

Another great weekend at Higham Hall College teaching basic glass bead making.

I thought I would show you my regular room.  It is a 'compact' room, but I don't spend much time in it (except for sleeping) so it suits my needs.


 The bathroom could do with being a little bit bigger though  :)


It looks out onto a wonderful side garden of the Hall, and in the morning I can hear woodpeckers, lots of bird chorus and watch the bunny rabbits frollicking about on the grass.

I laid the glass out following the "Rainbow Rules" (R.O.Y.G.B.I.V) or as near as I could, looked very attractive I thought  :)


I was amazed when I picked up the class list - Sue, Sue, Susan and Heather - and of course me, another Sue.  Made for a confusing weekend.  Instead we called each other Mrs Bee, Mrs Ess, Mrs Double You, and Heather just got 'Heather'  :)

Here are the Ladies, working hard at the torches.


...and showing off their stash of glassy goodies.

Heather, Mrs Bee, Mrs Ess & Mrs Double You.
(Or Heather, Sue, Susan & Sue)

I just wanted to show you this, this is Bassenthwaite Lake where the College is situated, I took this on my drive home - beautiful isnt it?