Thursday 31 March 2022

Making a teapot / sugar bowl / jug


Still at home with COVID, I joined a uni class using video calling so I could see what was happening in real time.

This lesson was how to make a jug, sugar bowl with lid and a teapot with handle, lid and spout!

Much harder than it looked!

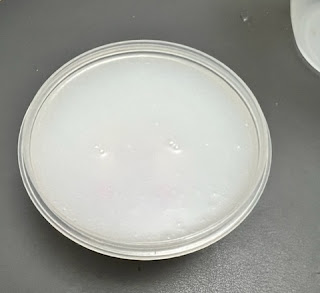
I switched on my pottery wheel and got to work.

I started off with a shape – this was supposed to be the teapot, but ended up being the sugar bowl.


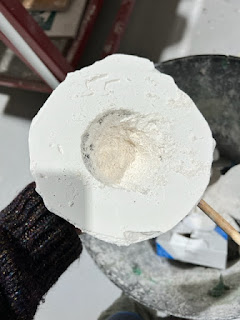
Next I attempted a lid…. Didn’t manage to get a nice round ball on the top for the handle, but let’s call that a design feature  😊


Spouts are evil!  I mean, just how hard can it be to make a small thin spout?   Very hard.  I made four spouts and this was the most spout like, even though it looked like a stumpy elephants trunk!


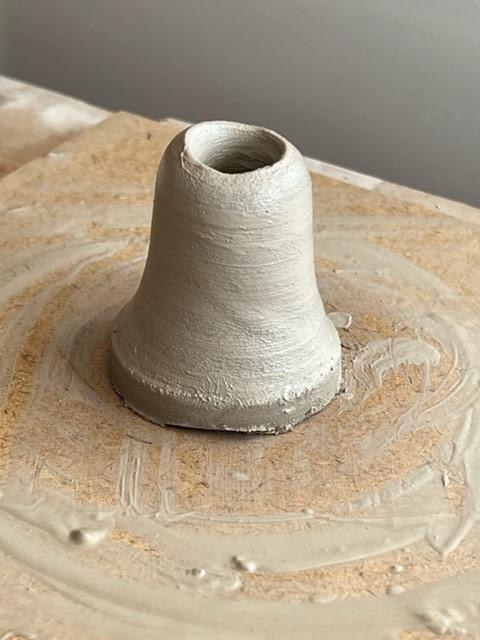
And finally a jug, quite pleased with the shape of this one I have to say.


Now it was time to let them all dry a little, while I make some handles and try to figure out how to attach them all together!


Attaching the spout was a tricky procedure, I trimmed to much off it trying to get it to fit the shape of the pot.


…. And we have to address the elephant in the room, that that spout is just a bit too trunk like.   But, at least it should pour well!


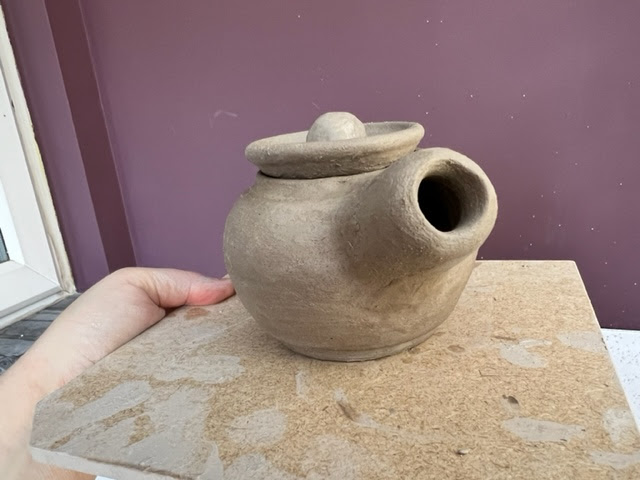
Handle on, spout on, lid trimmed to fit!

We have a teapot… might not be the prettiest teapot, but I am rather pleased with it  😊


The sugar bowl was next for a trim – maybe it looks more like a small ginger jar, but again, the lid fits, so I am happy with that.


And my milk jug has a handle!

I found the handles quite tricky to deal with, they either got to dry and cracked, or I just couldn’t make them even enough. More practise needed there!

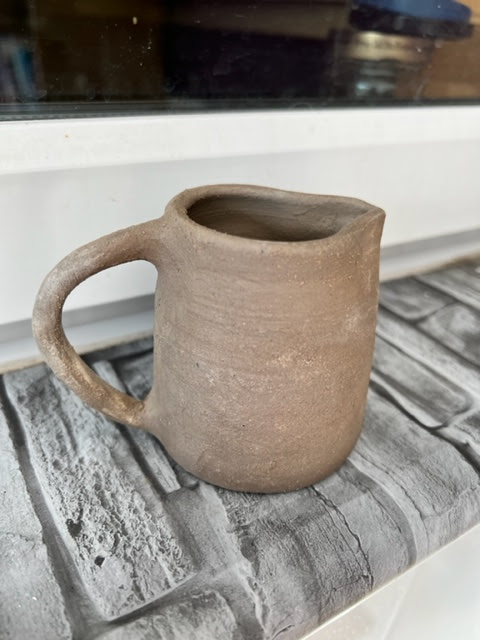
So, my teaset is not really in good proportion to each other, but I feel a sense of achievement that I have managed to make one.

Let’s see how the firing goes.


Wednesday 30 March 2022

Stained Glass panel planning

 Last week I was stuck at home with the dreaded COVID.... and I got SO BORED!


I had caught up on all my blogs, and note taking from Uni, I had drawn a few Sacred Geometric designs and done quite a bit of crochet.   What to do next?


I thought I might design a stained glass panel to make - in the theme of my kaleidoscope ideas.


I didn't have paper large enough to do the whole thing, so I drew half and hopefully I can just use the same half again to be able to create the pattern... that's if I have my measurements correct!


I used a protractor and ruler to make sure each piece was the same.


Then I decided to colour it in.... things are always better in colour, aren't they?


I added a key to show what effects I wanted to include and where.  I want to add some sandblasting, painting and maybe some stain.... with a mandala type piece in the centre.

So, now all I need to do is find some glass and make the thing!

Watch this space....

Sunday 20 March 2022

Kaleidoscope Project – marble disc


As part of a uni assignment I am creating a type of kaleidoscope – the viewer will be made from mirrors and the discs will all be different using various forms of architectural glass techniques.


The first one I wanted to make was to include shop-bought marbles.


First I put the marbles in the kiln to melt down so they had a flat bottom.

This meant I could arrange them neatly onto a disc of glass without them rolling all over the place.

I cut a 15cm glass circle out of window glass and placed the marbles onto it.

Then into the kiln it went up to 820 degrees.

The next morning I was way too impatient and had a sneaky look while the kiln was still at about 100 degrees  (not really recommended in case the piece thermal shocks and cracks.)


Happy with the result.. I think it should make a good disc to view through a kaleidoscope.


Saturday 19 March 2022

Silicon Mould – tiny trainers

Todays demo was on making Silicon Moulds.

The benefit of silicon moulds is that they are reusable over and over again – for various uses too – wax, resin, polymer clay etc…

The silicon I used for this project was a 1-1 mix which you can find on Amazon.


As the silicon is quite expensive I wanted to try it on a smaller item first… so I had a look about my local B&M shop and found these little trainers  (they seem to be collectable and come in a blind bag).  I thought they would work really well.


The little shoes are hollow which I thought might cause an issue with the silicon going right inside, so I partially stuffed them with a dog-poop bag.

Then I stuck them into a little plastic pot using a glue dot.

If I didn’t stick them down I thought they might float up when the silicon was added.


Time to mix and add the silicon.

I had just enough to cover the shoes luckily.

The price of this was £10.00


Then it was a long, overnight wait, for the silicon to set.


Then next day I could turn it out of the plastic pot and flip it over. The silicon had covered the bottom of the shoes every so slightly with a thin layer, but I could easily cut this away with a craft knife.


They came out nice and clean and left a good impression in the silicon.


Now it was time to see if the mould had worked.  I poured warm melted wax into it… and waited until it had set.


They turned out better than I expected.  I would need to give them a little tidy up, and go around the inside of the trainer with a hot tool to melt the wax a little and make it a little neater.  But quite pleased with those.


Friday 18 March 2022

First attempt at Pate De Verre


Todays demo was on Pate De Verre (Paste of glass)  and I thought I would have a little go myself!

What you need for this is a plaster mould, a teaspoon, some frit (fine or powder is better) and a mix of 50/50 Glasstac and water.

You mix up the frit and glasstac mix to a thick gritty paste, almost like sugar topping.


Then you take the teaspoon and press the paste into the mould, compacting it as much as possible.


I also added a little blue glass mix at this stage too to make it a little more interesting.

Once you are happy with the thickness of the glass paste, you pack the remainder of the mould with a pre-fired plaster to stop the glass collapsing during firing.

Then off to the kiln to be fired at 765 degrees for an hour.


When it is cold you shake the powdered plaster out – wearing a mask so you don’t breath in any nasty particles.


Then you can carefully chip away and break the mould off to reveal your glass work underneath.


Not bad for my first go.  Not sure it will be a favourite technique as it’s not hugely tactile to tough and hold, but I enjoyed trying the process.


Thursday 17 March 2022

Gelflex Mould

I wanted to have a go at Pate De Verre (paste of glass) but first I needed a mould…

I had this broken wine glass which I thought was quite a nice shape for a little bowl.

So I took some chunks of Gelflex, popped it in a bowl and put it in the microwave for 3-4 minutes.

Once melted it looks like the most disgusting pea-green soup!


I stood my glass up in a bucket with a little sand in the bottom to keep it steady – and also to take some of the heat out of the Gelflex when I poured it into the glass.


Then it was a couple of hours wait for it to set.


The best thing about Gelflex is that once I am finished with this, it can be remelted and made into a different shape.

Getting it out of the glass was trickier than anticipated, it had a real good grip on the side of the glass.  But I got there in the end.


Quite pleased with that!


Now to make it into a plaster mould for my Pate De Verre.

I placed my shape upside down on the table (wiped with a little vaseline before hand to prevent sticking) and made a plaster mix.

  • ·       2lb plaster
  • ·       2lb molocite
  • ·       2 pints water


Then I patted it into shape over the mould.


Once it was dry it was time to ease the gelflex out of the plaster – which was easier than getting it out of the glass.


Now the mould is ready for my Pate De Verre.


And the Gelflex can stay to make another mould or be reheated to make something new.


Wednesday 16 March 2022

Kiln pick-up practice

This week we had a demo on picking up hot (previously made and reheated) pieces from the kiln to create a sculpture.

There was about 30 pieces in the kiln, and 5 let at the end of the demo so I cheekily asked if I could have them to practise with.  😊


I had to take a punty and pick each piece up one-by-one, keeping it at the correct temperature for attaching to the main piece.  It was quite good fun actually, although a bit warm when hovering over an open kiln  😊


I think the finished piece looks a little dolphin like….. I was planning to make a kind of sculpture with it by crocheting through the holes – but we shall see!

Also, I need to decide which way to display it.


Tuesday 15 March 2022

Geometric Sgraffito

 Having really enjoyed the process of Sgraffito, I thought I would try and make a largish bowl with an interesting geometric design.

 I created a slump bowl into a towel tied across a lampshade,  smoothed it out and left it to dry to leather-hard.

Next I painted it with 2-3 coats of pale blue coloured slip.


Then I decided to add some random splashes of dark blue coloured slip.


Now it was time to draw out a design.


I followed the Mustansiriya Madrasa pattern from the book  ‘Islamic Geometric Patterns’ by Eric Broug.


I placed the pattern onto the middle of the dish and pin-pricked around the outlines.


I then peeled the paper off, replaced it so it would tessellate, and did the process again.  I added the pattern 5 times in total.


Then it was time to carve out all of the mark lines. 


This is such a satisfying process.  Very zen like – until it goes wrong of course!

Once done, it was time to leave the bowl to dry out some more (fingers crossed it survives) then off to the kiln to be biscuit fired.