Showing posts with label painting. Show all posts

Thursday, 16 March 2017

Mandala Art Class

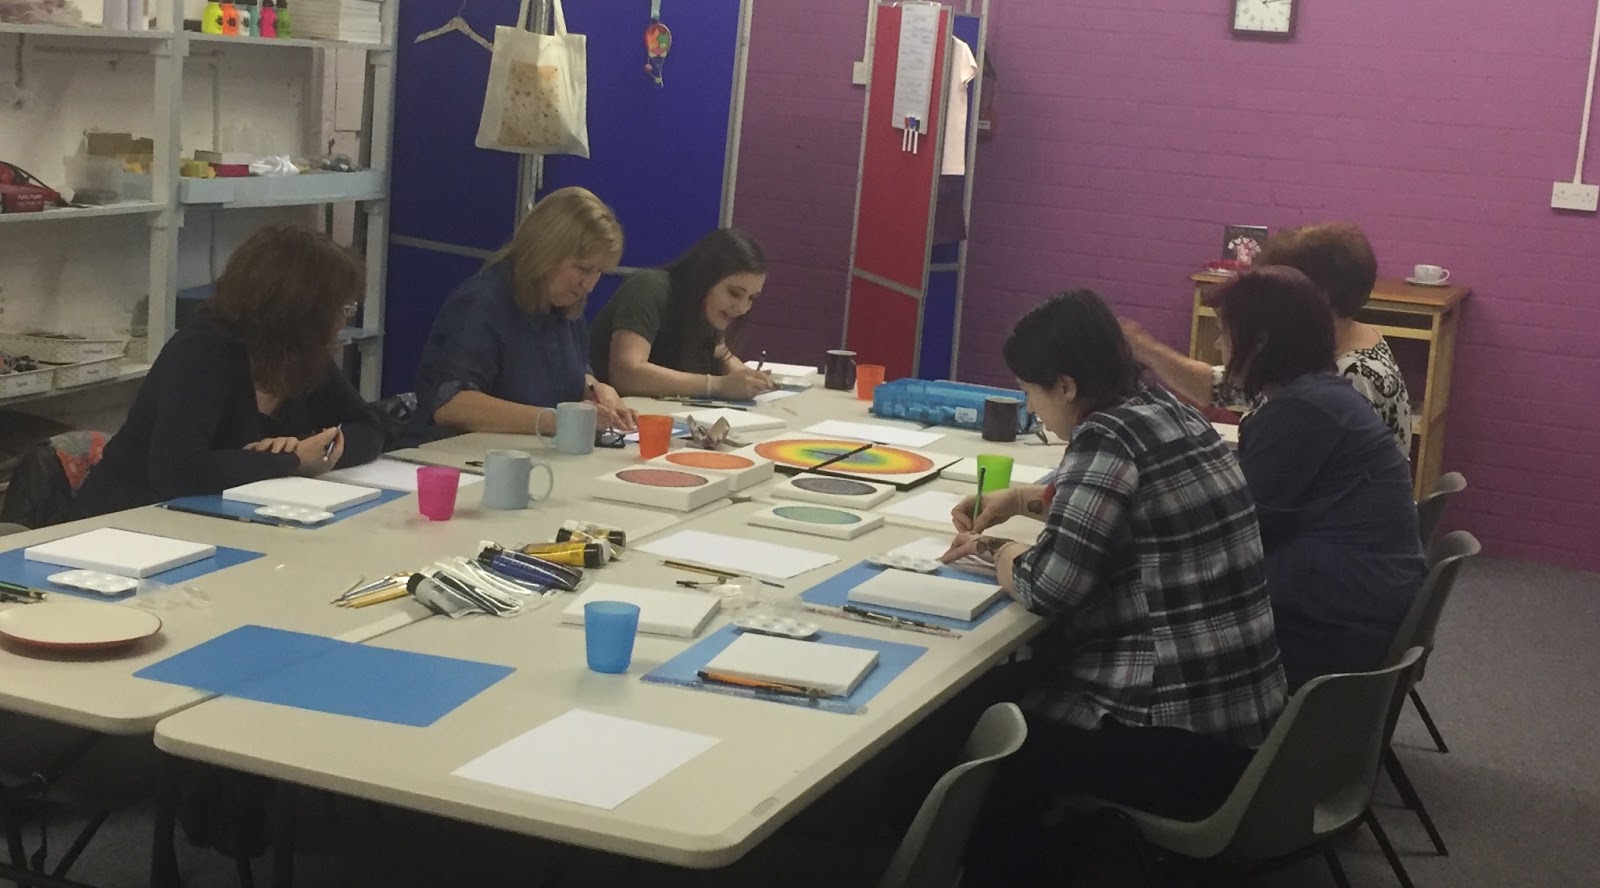
Here in The Shed we have ran a couple of Mandala Art classes.


As I have freely admitted previously, I don't do art, so I work with Marie Lawrence who delivers the class in The Shed for me.

These seem really popular, and the best bit is, you don't need to be an artist to create these fabulous pieces of work.


Marie takes people through the design part step-by-step, and they get to practise shapes and patterns on paper before moving onto the canvas.  She brings loads of inspirational pieces with her for people to use within their own work.


And you truly don't need to be an artist before you attend, just look at the work produced.


If you fancy this class, then keep an eye on the website for the next one coming soon.....

www.soozintheshed.co.uk/store/

Thursday, 6 September 2012

A Gift from an Aunt.

I just wanted to share this with you.


My Auntie Winnie, who was the grand age of 80yrs old last month, is a beautiful painter.

I believe she only took up painting upon retirement, but she produces the most beautiful art.

She painted a huge canvas of poppies for my Father (her Brother) and I took a liking to it immediately.


Jokingly, well - half-jokingly, I sent a message back with an order for a Sunflower picture.  Sunflower is my birth-flower and I have always been quite fond of them.  I got it yesterday, painted by my Auntie and mounted and framed by my Dad  :)

I love it.

Monday, 3 September 2012

My sad attempt at Silk Painting.

As part of the training program at Hobbycraft, we were asked to investigate a craft we had never done before, and do it.  (Yep, we actually get paid for this!!)

For most people this might be an easy task, for me the hard bit was finding a craft I had not already had a go at!

After a good hunt around the Hobbycraft store in Stockton I came across a Silk Painting Card Kit.  Looked interesting, and I had never painted on silk before, so I purchased it.


In the box it had enough stuff to make four different greeting cards.


I started with a cat design.  After washing and drying the silk to remove the creases, I started to trace the design using the 'Gutta', which is a paint resist, it is used to only allow the paint to spread to the edges.  If you accidentally leave a gap in the gutta, the paint will seep through into the next section.


The gutta needed 24 hours to dry properly, so I did the design and left it on the mantelpiece overnight.  The next day when I sat down to add the paint I realised I had missed the facial features off the cat, so I had to put them on and wait another 24 hours!  The sample  on the box lid had very thin smooth lines, I found this almost impossible to achieve as you needed two sets of fingers & thumbs to squeeze the tube resulting in it coming out in blobs rather than a nice smooth stream.

Then it was time for the paint.  The box only contained three colours, so I had to do some cunning paint mixing.  One drop of paint and it spread all over the silk, I quite liked that effect.

So, the finished picture, I am sure a 4 yr old could have done a better job.


I think I prefer the reverse side as it looks a little 'smoother'.


I mounted it into the card provided (reverse side up as I preferred it), of course it's all floppy whereas the one on the box is nice and taut, but there wasn't anything I could do to stretch it and make it nice and tight.


I took another piece of silk and just blobbed paint on it, I think I much preferred this effect, so I googled more about Silk Painting.  I found out that I would need a steamer to seal the colour, not sure I could be bothered with all that.


I will not be doing the other three designs, in fact I gave the kit away to the first person that showed an interest.

Not a craft for me.

Thursday, 5 April 2012

Not every experiment is successful.

You know when you get something in your head, and in your head it looks fantastic?  You can also work out in your head exactly how to make it work and what to use.  It happens to me, a lot.  Sometimes it works, sometimes it fails miserably :)

Yesterday, it failed miserably.

I decided for some really weird reason, that a string picture would look great.  You know those pictures you used to make in school with paint and string? Seeing it written down makes me think it wasn't such a great idea in the first place.

So, I got a pack of acrylic paints, and a ball of string, and a decent sized canvas.  Then I looked at it for about a week not quite knowing where to start.


So, yesterday, with my A Level art daughter Shona on board, we made a start.

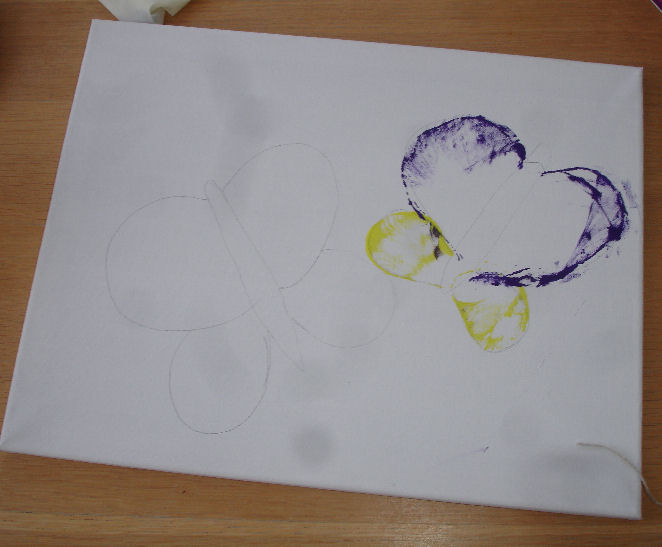
I sketched a rough guide onto the canvas, cut up some string, then covered it in paint, layed it on the outlines, and pulled it off.


What a blooming disaster, we laughed so much at the mess, there was paint everywhere, all over our hands like we were 4 year olds.


The whole time my father, Lawrence, sat opposite shaking his head, tutting and laughing at the same time.


I decided not to proceed, as it was just a scribbly mess, so threw out the half mile of toilet roll, loads of paint covered paper plates and dribbled of painted string.

At this point Shona decided she could use the canvas and gave it a back wash in purple. If it is anything like her last one I bet it will be fabulous!  Watch this space.


Shona's last painted canvas. A blue strawberry with red lips for 'pips'.


Wednesday, 22 December 2010

Poppy

I did this a little while ago for my Dad's (Daddy L) birthday, but I came across a photo of it and thought I would share :)


Daddy L loves poppies, he is a photographer and adores photographing flowers, especially poppies. So I thought I would try and do him a poppy picture with a difference for his special day.


I took two pieces of clear glass and found a nice simple poppy picture on the internet. I put one piece of glass on top of the picture and traced the poppy onto it, then coloured it in with glass paint.


Next I put it into the kiln to fuse the two pieces together.


Stupidly, however, I forgot to put the fine details on first so of course they ended up on the back once it was finished !! However I was still moderately pleased with the result. I could have turned it around but the top side was beautifully smooth and the underneath rather rough.


Next I found a pretty background image on the internet and cut it to fit the fused poppy tile, I put a piece of bright red card in a beautiful black wooden frame and glued the poppy tile in place.


Ta da, a 3D picture for Daddy L :)