From the selecting of the beads to go on the bracelet, to the learners leaving the area with their wrists at a funny angle so they can see their work and walk at the same time is so rewarding.
I use this for beginners as it allows them to play with wire (albeit headpins), putting colours together and having a nice finished product without too many tools or too much faffing about.
The tools you will need for this piece is wire cutters, round nose pliers, and long nose pliers (with a smooth inside - serrated tools are just no good as they chip off the plating) The long nose pliers are not essential, but might be useful if you are struggling to close a loop.
First choose yourself a nice selection of beads. Don't be afraid to experiment with colour, and if you think you are not great at putting colours together, buy yourself a colour wheel.
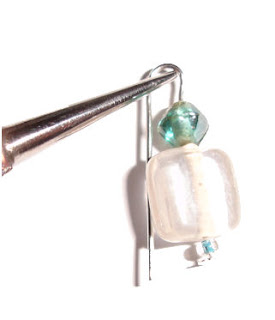
1. Thread your chosen beads onto a headpin.
2. Form a nice neat loop with the round nose pliers at the top of the pin. Do not close the loop at this stage.
3. Make enough beaded pins to have one per link (or more if you desire) of your Charm Bracelet.
4. Slip the loop on a Beaded Pin through a link on the charm bracelet and close tightly. Trim off an excess wire with wire cutters.
5. Continue until all your pins / links are used up. (this is a one charm per link charm bracelet, but let's carry on and make it fuller and therefore more jangly - jangly is good right?)
:
6. So, repeat from step 1 :)
Here are some variations.


No comments:
Post a Comment
I would love to hear from you, questions, comments and salutations all welcome.